The final result and the service life of the repair depend on how well the wall surface is prepared for decorative finishing (wallpaper, decorative plaster, tiles, painting). Many people know about the need to prepare concrete walls for wallpapering, but few know how to do it correctly in order to avoid disastrous results of their work, which will ultimately result in additional costs of time, effort and finances.
The main arguments for preparing concrete walls before wallpapering are the following:
First stage of preparation
The preparation of concrete walls depends on whether there is an old coating on them, or whether the walls have never been decorated.
Preparation for old wall coverings
The very first stage in carrying out preparatory work for wallpapering is dismantling the old covering. If you do not dismantle the old wallpaper, further measures to prepare the surface will not make sense.
The old wallpaper needs to be softened. If the previous wallpaper was paper, it should be wetted with a soap solution and wallpaper glue added. On vinyl or non-woven wallpaper, you need to make cuts in order to get to the paper base, which should soften the soap solution. After the wallpaper has softened, it should be removed with a metal spatula. If they are difficult to remove, you should moisten them again with soapy water. 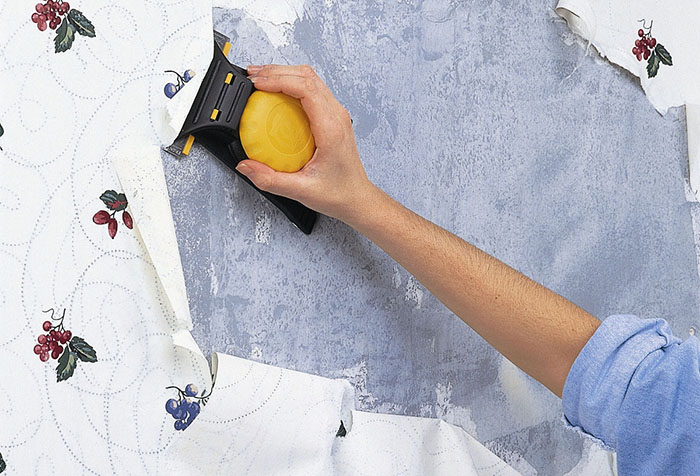
If the wall was painted with enamel or oil paint, it should be sanded with coarse sandpaper. Water-based paint is removed in the same way as paper wallpaper using a spatula.
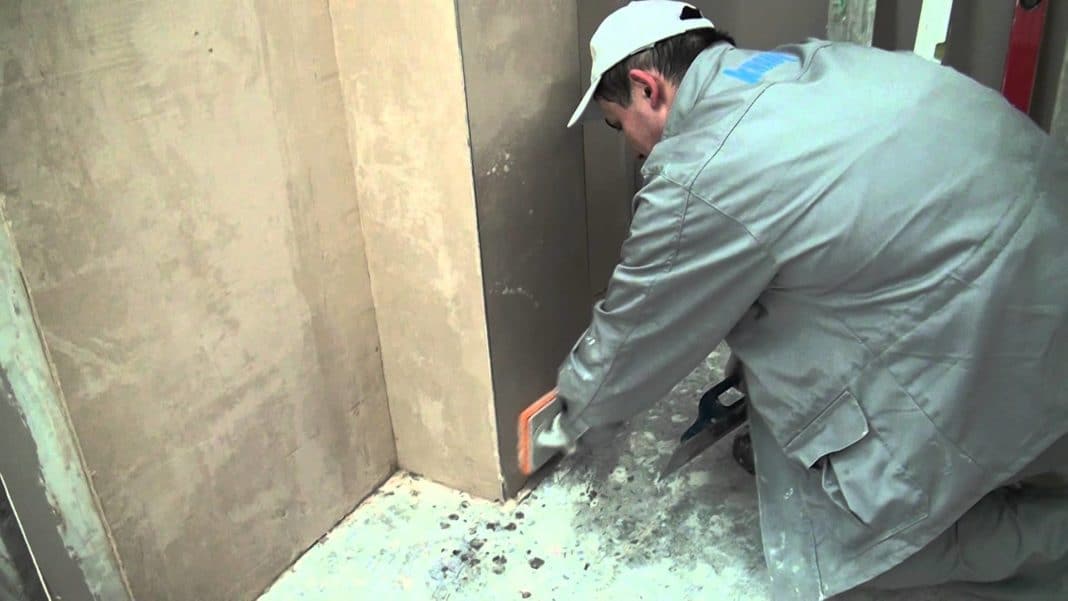
If the previous wall finishing was plaster, you need to ensure its integrity by tapping for the presence of voids. Empty places are removed and plastered; if there are many such places, it is better to remove the entire layer and plaster the surface again.
Preparing walls in a new building
Before preparing the walls for wallpapering in a new building, a rough finish should be carried out, which, in turn, consists of several stages:
Elimination of uneven walls can be done using a plaster mesh. To achieve maximum adhesion of the plaster to the surface, notches are made on a smooth concrete wall with a hammer drill.
Stage two: primer
After completing the first stage, the preparation of the walls continues with their primer. It is needed to fasten the surface layer of the wall, penetrating deeply into the plaster or concrete. The wall surface begins to absorb moisture worse, which improves the quality of its coating. In addition, the primer removes dust, cleaning the surface. It must be remembered that the preparation of concrete at each stage must be accompanied by priming.
The primer is applied using a roller or brush until a white foam forms. If it absorbs quickly, additional layers are applied. After the primer has dried, the wall is rough leveled.
Stage three: putty
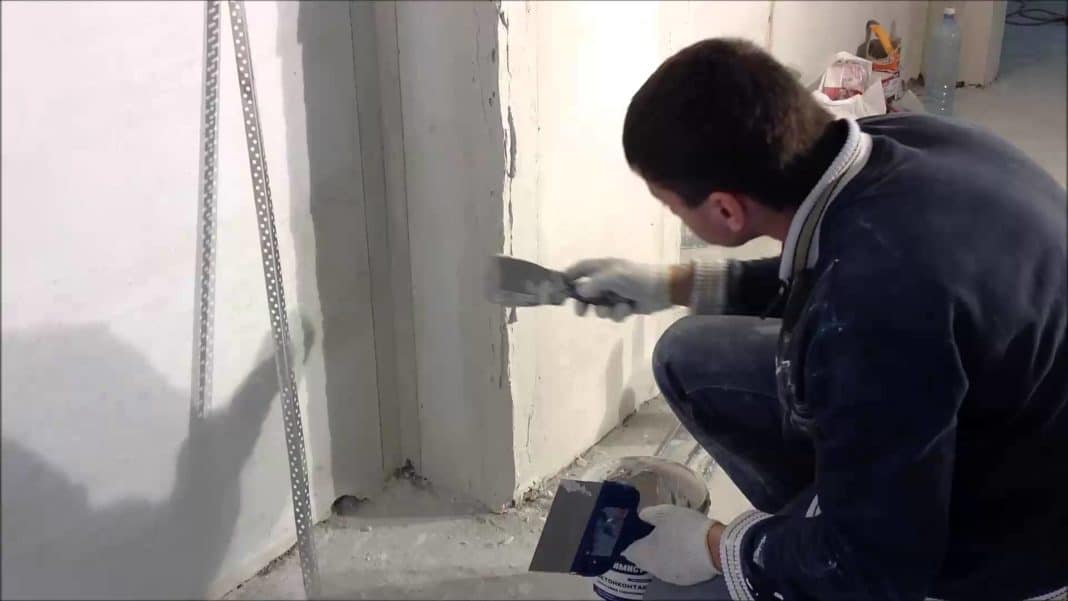
After the primer has dried, the preparation of the walls continues by eliminating irregularities, defects, and cracks. It is necessary to achieve as smooth a surface as possible. Before applying the putty, you need to make sure that there are no fasteners or fittings left in the wall, which will show up as rust through the wallpaper in the future. Areas where the reinforcement is exposed must be puttied with special care. In order not to leave noticeable stripes, it is necessary to apply the spatula first in a vertical position, then in a horizontal position. To obtain a better and more uniform coating, it is recommended to use a wide spatula 30-40 cm and hold it at an angle of 25-30 degrees relative to the wall. To putty corners, use an angle spatula.
Final preparation
The final preparation of the walls includes sanding the putty surface with a metal mesh or sandpaper to remove small irregularities after the putty has completely dried, and final priming until it dries completely with the required number of layers. 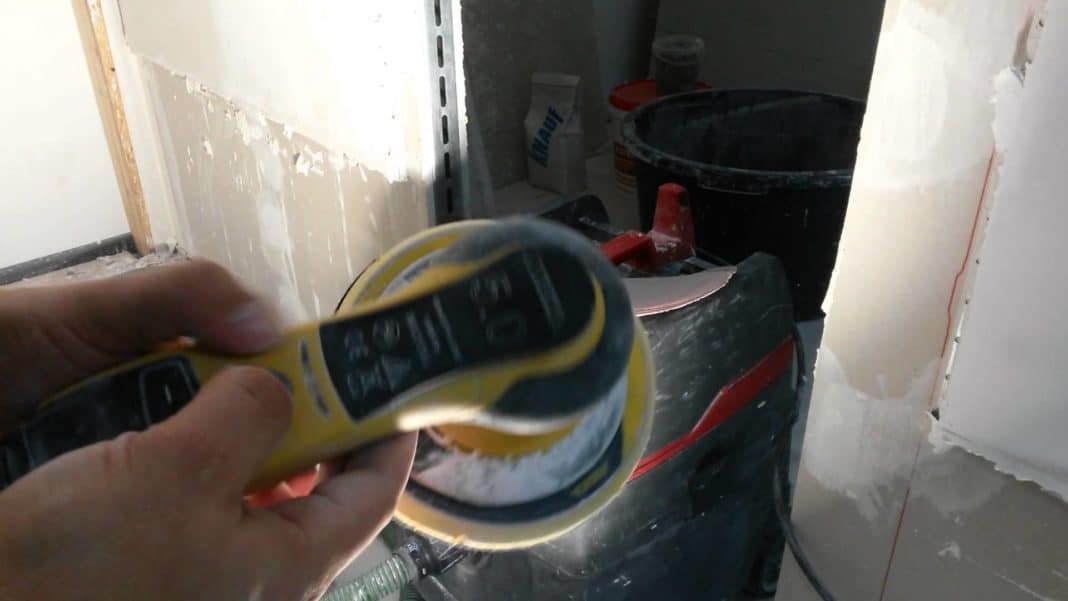
This preparation of concrete walls is carried out by gluing paper, vinyl, non-woven wallpaper.
Preparation for liquid wallpaper
When preparing for liquid wallpaper, a perfectly flat surface is required, while when gluing non-woven wallpaper, some wall irregularities may become invisible. Preparing concrete walls for decorative plaster and liquid wallpaper is similar, but liquid wallpaper requires less time. It is no different from preparing for gluing regular wallpaper, except that liquid wallpaper tends to pull out stains and stains from concrete surfaces, so the walls must be covered with special products and several primer layers. 
For concrete walls, such a product is gypsum. It protects the adhesive contained in liquid wallpaper, allowing it to reliably stick to the concrete surface. Gypsum clogs all small irregularities and pores; it can also be sanded. After it dries, the surface is primed and covered with white water-based paint so that the liquid wallpaper does not lose its color. Painting on concrete and plaster is ineffective - only on gypsum putty. Finally, a strengthening primer is applied to bond the liquid wallpaper and the wall surface. Liquid wallpaper is applied with a spatula in the same way as decorative plaster.
Preparation for painting
When preparing a concrete wall for painting, it must be cleaned of any coating that has been applied and anything that may prevent an even layer of putty from laying down. All chips and cracks are repaired, then the concrete for painting is sanded with sandpaper. To prime a concrete surface for painting, special deep penetration primer mixtures are needed to prevent swelling and peeling of the paint. You can get a high-quality surface painting only after applying several layers of primer. Painting of concrete should be done after complete removal of dust using a roller. Proper painting is carried out starting from the top of the wall.
Preparation for tiles
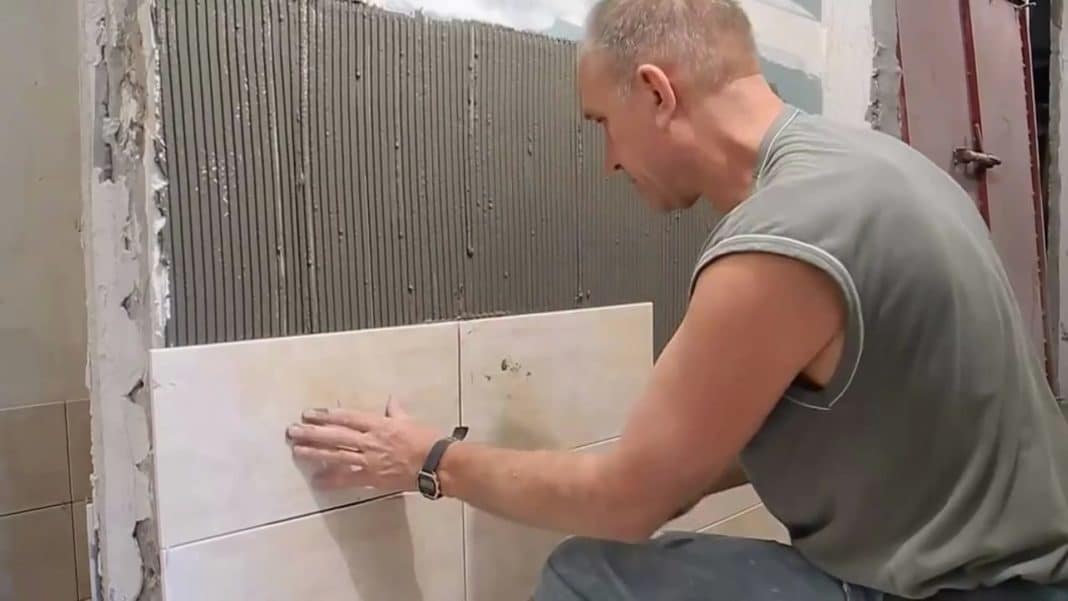
Preparing a concrete surface for tiles is practically no different from other types of coatings. The preparation steps for tiles are the same as described above. The advantage of the work, which will save time, is that there is no need to level the wall under the tiles to a perfectly level state - it is enough to only get rid of significant irregularities. The exception to this is the preparation for mosaic tiles with a paper base, which are pasted like wallpaper - it requires a well-plastered surface. If the walls are smooth, the tiles are laid on tile adhesive or cement mortar; if not, then plaster mesh padding is additionally used.
After removing the old coating, the plaster is tapped for voids for repair. After this, the surface under the tile is treated with an antifungal primer; this is especially important if tiling a bathroom or toilet. Floor tiles in these rooms must be treated with waterproofing.